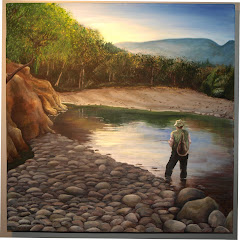
1 - Choose a photo that you wish to convert into a stamp. Here is the one I choose...
 2 - Over in the Layers palette(right hand side of your sceen) If you cannot see your Layers Palette click on windows, on the tool bar at the top of your screen and look down the pop up list until you see Layers and click on it. Double click on the Background Layer. Click on OK . This layer will now be saved as Layer 0
3- Select Image, Adjustments, brightness/Contrast from the tool bar on the right. Slide the Brightness slider to the left and the Contrast slider to the right, until your image has sharp contrasts between the dark and light shades (as in the photo below) Press OK.
 4 - Select Image, Adjustments, Threshold. Your image will look black and white. Move the slider to adjust the Threshold until you have a sharp, but recognisable image. When you are happy press OK.
 5 - Select the Magic Wand tool (from the tool box on the left) and click on an area of white, (doing this will select alot of the white in that area) *Now press the Delete key. Your white area will now be transparent, but your black area will remain. Click on another area of white and repeat from * Continue until you have as much of the white area removed as is possible.
 6- Select Image, Image size, and resize your image so it is no larger than 4 inches in height, or width. (whoops I have cm selected in this example photo...I should have inches)
 7 - Now select Edit, (from the tool bar at the top of your page)Define Brush Preset, give your brush a name and click OK.
8 - To save your brush click on the arrow that is pointing down, next to your brush on the Toolbar. Click on the double arrows pointing to the right and choose Save Brushes.
Your Digital stamp is now ready for you to use when ever you want it!
 Next I will print out my image and make a card... but for now I'm just going to make a few more digital stamps! Have fun!