Friday, 25 February 2011

Gift bottle

It is with great sadness that we watch the news on the Christchurch Earthquake, no more survivors have been found today even though there are still an estimated 200 people missing.
The support for the Cantabrian's is huge and we are helping where we can. Louise has an Auction set up and running on Face book where anyone can donate goods that will go up for auction, with the proceeds going to the Christchurch Earthquake Appeal. I have rounded up a pack of Scrapping goodies, to help out.
My lovely crafty friend Carol has a Bottle Run organised for the Children of Christchurch. The idea is to pop little goodies inside empty plastic bottles. Carol will get these to the approprate people who will pass them onto children in need of a little cheering up. Anyone wishing to help can find details here. I have taken up Carol's challenge and made up one bottle today, and will make more over the weekend. I had fun doing this, I am going to decorate my bottle, but so far this is what it looks like....

To everyone out there doing their bit to help I say...You are all wonderful and keep up the great work!

Wednesday, 23 February 2011

Canterbury Earthquake Appeal

Our hearts go out to those effected by the Canterbury Earthquake that struck yesterday. Andrew and I watched as our television, curtains and computer rocked back and forth yesterday afternoon, and once the rocking stopped our thoughts immediately turned to Christchurch. Check out the devastation, as seen  in these latest photos.

New Zealand Paper Chase magazine are doing their bit to help the relaunch of the Earthquake Appeal. All you have to do is to subscribe to this magazine for one year, you will receive the launch issue of this new magazine and a following three issues, for $47.60.
  $10 of your subscription will go towards the Earthquake Appeal.
Details can be found by clicking HERE

Sunday, 20 February 2011

Tickled Pink with fabric

Tickled Pink's latest challenge involves using fabric. Now I should be scrapping but I just had to have a go at this challenge, I've become very addicted to Tinkled Pinks stamps and challenges. Sadly they are an Australia web site so I need a credit card to buy more stamps, which I do not have. Might just have to get me one of those!

Anyway here is my card for this challenge....


 I decided to challenge myself to use fabric in more than one way . First I ripped a bit of calico (my all time favorite 'scrapping' fabric).


 To add colour I got out my 'pink Bubblegum' Tattered Angels Glimmer Mist, and a red stamp pad.Then I made a little fabric flower.


 After digging through my fabric's I found inspiration in the way of this leaf, which I backed to stiffen it up a little.


 This is how I made one leaf into two.


 ...and I sewed my arrangement together.


Next, I played again.


 I decided to brighten things up by using this fabric to create three panels.


 After that I put everything together..


 ...then I played some more, with net and...


 ....lace


 And I printed and painted Cherrie and layered her hands and rose.


 By the time I'd finished I had my usual 'busy' going on!


 For the finishing touch, what could be better than a greeting on fabric!


 Take a peek at all of my layers...


Check out my 'inside'.


 Ha-ha and now my blog post is as long as my card is thick!

Thanks for looking.


You can Check out Tickled Pink here

Thursday, 17 February 2011

This week I have been busy scrapping up a storm, but not at home, at work. Each morning this week I have had a group of children with me, scrapping their treasured 'family photos', its been lots of fun.
At home I have done nothing at all in the way of crafts, except organise bits and pieces for 'school scrapping'
Andrew and I are trying to adjust to having no children at home. Piece and tidiness is way over rated!

On the subject of tidiness, last Sunday we had a tidy up at Aimee's flat. here are a few photos of that...

Aimee's flat is right on the street pretty much and this is what you saw from the front...
Before....

....and after a clean up


Before.   This was the back yard, under that grass lays broken glass bottles, unbroken glass bottles, a wall clock, old rusted iron, and piece's of debri.....

After... what you see is what you get, its still not flash, but at least its safe now.


The back yard from another angle
.... By the way, has anyone seen that couch??? The land lady is wanting it back. It appears to have disappeared the week Aimee was at home. We thought Landlady must have taken it away, but it would seem she did not, odd as I'm not sure what use it would be to anyone?!


...and after. We have a compost where is couch used to sit.


Half an hours walk away now to Camden's new accommodation, which is a huge comparison to Aimee's place!...

Camden's room, like Aimee's faces out to the street front, only this street is nice and tidy and quiet!

Camden has his own ensuit, also very nice.


Abby, Camden's girlfriend has moved to Dunedin this year as well to study Vet nursing. Cam and Abby are both missing the country life.


Today we went to Dunedin to celebrate Camden's birthday. hard to believe my 'baby' is 16!

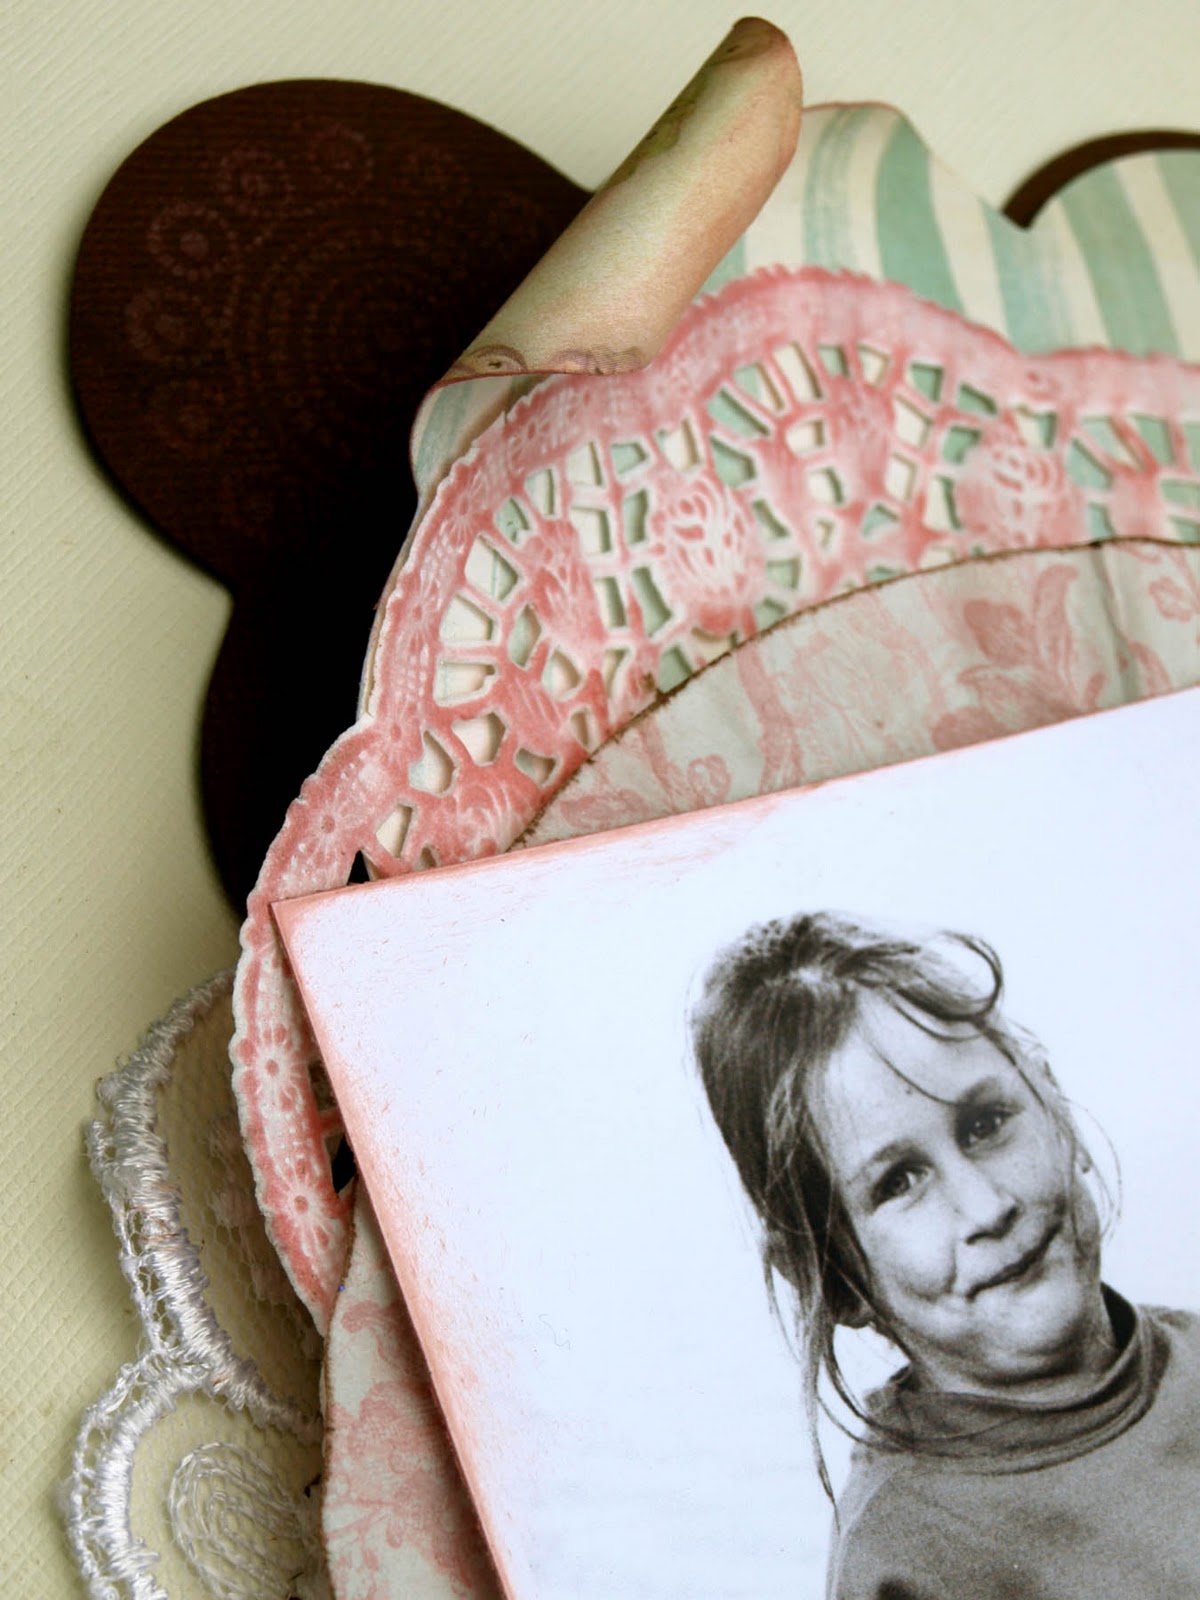
Back to scrapping now For fun I decide to pop a page into the Scrapbook Awards Web site, this was my pick...

Carol entered one of her delightful pages as well, do pop by and give her you vote. Her pages is wonderful.
I'd love to see some of your pages there as well...pop on your 'brave hat' and give it a go :-)

Monday, 14 February 2011

Happy Birthday Card

I just love my Tickled Pink Stamps so much that I thought I have a go at the latest challenge, the prize is three Tickled Pink Stamps, which I would love to win!


The image I have used for my Birthday card is called Lil Valentine Luca, isn't he just the coolest!


I am beginning to get a little more brave with my colouring and am colouring my image's darker now. I know, I've still got a lot to learn though!


Here is a peek at the inside of my card.


These little denim fabric flowers are made using the tutorial at Tickled Pink, you can find it HERE


Tucked in, on the inside 'back cover' of my card is a little pouch. I thought Id give this card to Camden who turns 16 on Thursday, so in the pouch I have tucked an envelope which holds a voucher, and a photo of my lad with his girlfriend.

Thanks for looking and thanks again for the inspiration Tickled Pink!

Thursday, 10 February 2011

Sweet

Colour- Combo- Challenge had a really sweet challenge this week so I gave it a go.


 This was what inspired me to use cup-cake wrappers as backdrops for my photos, I was also inspired to add the 'string' and bow, to recreate a 'wrapped parcel look', and of course I just could not go past adding doilies, rose blooms and lace!
 To add to the challenge stamps, or rub-ons had to be used on your page.


 I used both, just because I could!


 A stamp hides under my rolled corner...


 ...and another stamps hides amongst the rub-on flowers, beads and craft wire.


 There is also a butterfly stamp in there somewhere. Yes, I LOVE stamps!


Check out the gallery over at Colour Combo Challenge Blog to see all of the beautiful pages, I have many favorites!

Wednesday, 9 February 2011

February is the time to scrap January

How are you all getting on with scrapping your 2011 ??
If your looking for inspiration be sure to check out Birds of A Feather . Carol and I are looking for friends to help keep us inspired! So far Brenda has joined us with scrapping a happy memory from her January.
Here is what January at our house was all about this year....


 Our youngest had a dream that began in 2010. Camden wanted to be a 'cowboy' the bull riding type of cowboy. I said 'NO'! But along come January 2011 and it finds us trailing from one Rodeo to the next watching our Cowboy ride bulls! This page lets Camden know how I feel about this matter, and I hope one day he will look back and appreciate my feelings...at the age of 15 he really only has concern for the way 'he' feels. :-) Which is fine, because that's what being 15 is all about I guess.

 
Check out details of our challenge HERE We have no cut off time so just join in when you want to.


  Carol has scrapped about the men in her family, and what goes on at a family gathering.


 Here is the sketch for this month, we would love to see you twist it around, shake it up, add things and make it your own!


Tuesday, 8 February 2011

Sweetpea Swap and Ribbon flower Tutorial

Last post I showed you the wonderful folder sent to me by the very talented Ngaere. Below are photos of the door hanger/ note holder that I made as part of the SweetPea Stamp Swap through the GGS swap site.


 I received the stamped image called 'Wishful Thinking, which was a delightful winged fairy. I decided to use the 'thinking' part of the title to base my creation on.


 Hence the words on my hanger...Sshh..I'm thinking Fairy carefully.


Our 'creation' could be anything at all using our stamped image,, the only stipulation was that it had to be 3D, which suited me just fine because I love to create layers on any project!


One of the ladies wanted to know how I made the ribbon rose. so I will try and explain this as best I can, with the help of lots of photos....

1 - Take a length of ribbon ( I have never measured but I would guess that it needs to be at least 9 inches long, it does not matter if its longer as I snip the spare length off latter on).

2 - Take a needle and thread and fold  over one end of the ribbon, secure the end with a stitch or two.

 3 - Fold the ribbon back onto its self so that you are overlapping the turned over edge slightly (see the photo below). Once again secure with a stitch along the bottom edge. ( looks like the top in my photo but that's just because I've turned it upside down so you can see it better).

 4 - Carry on folding back and securing your length of ribbon, fold by fold.

 5- I stop once my folded ribbon gets to about 4 inches long. If your using wider ribbon you may want to make yours a little longer.

6- Snip off the spare length of ribbon and turn the frayed end under, stitch roughly in place, just to keep it looking tidy.

 7 - Begin to roll your length of folded ribbon and using the same thread catch the fabric with stitches as you go (this is to hold the rolled ribbon in place.)


 8- Keep rolling, and stitching  all the way to the end.

 9 - Once you reach the end tie off your thread

10 - Now simply flip your ribbon over....and volla, you have your ribbon rose.
If any of that does not make sense please PLEASE let me know  :-)
I'm sure many of you have other ways of making flowers, I just sat playng with a length of ribbon one night as I watched tele, and that's what I come up with. Id love to see YOUR ideas.

Thanks for looking

My Favorite Musuc

Playlist


Download this mp3 from Beemp3.com

My Scrapping

Here is my finished latest painting

Here is my finished latest painting
This one is a hit with all the males who have seen it. I must say that I did not really enjoy painting a truck and it will be a one off for sure! Uncle David is now the owner of this one. Next project on thepainting scene is going to be a fisherman- for my Uncle Graeme who is wanting me to paint him something. Really need to get onto this one!

Finished at last- I think

Finished at last- I think
At last I think I have pretty much finished this painting for my uncle. Do hope he likes it.

My waterlillies

My waterlillies
one of my recent paintings

Naked Lady

Naked Lady
One of my last years paintings

Aimee and Bob

Aimee and Bob
A painting I did a while back for my daughter

Click on our house to see a little of where we live.

Thank you

Just want to say thankyou to those of you who have been kind enough to take the time to leave a comment or sign my guest book. Always get a buzz out of knowing people have been here for a wee look! THANK YOU!!

Check out my talented nephew Tony...he's the cool dude singing!